Websockets guide
In this guide we'll be creating a simple realtime application using Nitric websockets.
This guide relies on the Websocket feature of Nitric which is currently in preview. See the docs for this feature to see how to enable it.
Prerequisites
To complete this guide you'll need the following:
- Node.js installed locally
- Nitric CLI installed
- (optional) An AWS account
Getting Started
Let's start by setting up a Nitric project:
nitric new websocket-example "official/TypeScript - Starter"
Install dependencies:
cd websocket-example
yarn install
You can go ahead and open this new project in your editor of choice. You should see a project structure similar to:
├── functions
│   ├── hello.ts
├── node_modules
│   ├── ...
├── .gitignore
├── index.js
├── nitric.yaml
├── package.json
├── tsconfig.json
├── README.md
└── yarn.lock
In this structure you'll notice the functions folder. By default, this is where Nitric expects the entrypoint code for your application. However, that's just a convention, we can change that to anything else that suits our needs.
Let's update out hello.ts file with some websocket code to get started.
import { websocket } from '@nitric/sdk'
const socket = websocket('example-websocket')

socket.on('connect', async (ctx) => {
  console.log(`connecting: ${ctx.req.connectionId}`)
})

socket.on('disconnect', async (ctx) => {
  console.log(`disconnecting: ${ctx.req.connectionId}`)
})

socket.on('message', async (ctx) => {
  const message = ctx.req.text()

  console.log(`got message from  ${ctx.req.connectionId}: ${message}`)
})
At this point, we're ready to start testing locally. The project comes with a dev script by default, let's run that now:
yarn dev
If everything is working, part of the output will look like this:
SUCCESS  Started Local Services! (1s)
Local running, use ctrl-C to stop

Websocket          | Endpoint
example-websocket  | ws://localhost:4001

Dev Dashboard | http://localhost:49152
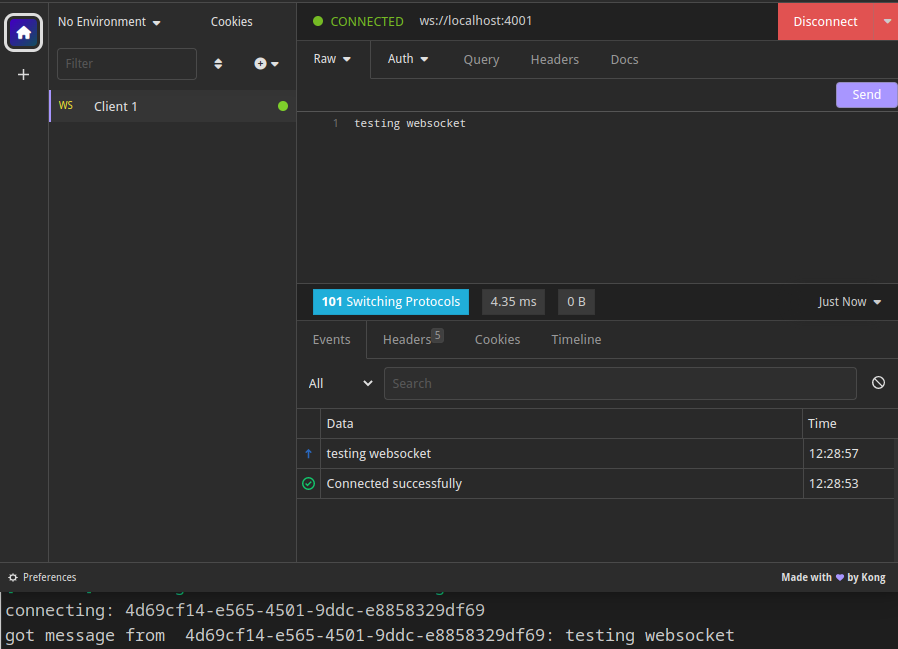
Your websocket will now be running with Nitric acting as a proxy, in this case it's available on port 4001.
In this guide we'll test this using Insomnia, however feel free to use any websocket capable testing client you like.
When you send messages you will start seeing your server log messages.
Sending messages from server to clients
Websockets only make sense when communication is bi-direcitional, now we've confirmed that the client can talk to our server lets get our server talking to the client. To do this we'll need to add some connection management.
You can update the hello.ts file like so:
import { websocket, collection } from '@nitric/sdk'

const connections = collection('connections').for(
  'reading',
  'writing',
  'deleting'
)
const socket = websocket('example-websocket')

socket.on('connect', async (ctx) => {
  console.log(`connecting: ${ctx.req.connectionId}`)

  // add a connection
  await connections.doc(`connection:${ctx.req.connectionId}`).set({
    // Can add metadata here later if we need to
  })
})

socket.on('disconnect', async (ctx) => {
  console.log(`disconnecting: ${ctx.req.connectionId}`)

  // remove connection
  await connections.doc(`connection:${ctx.req.connectionId}`).delete()
})

socket.on('message', async (ctx) => {
  const message = ctx.req.text()

  // broadcast our message to all other clients
  const allConnections = await connections.query().stream()

  const streamPromise = new Promise<any>((res) => {
    allConnections.on('end', res)
  })

  allConnections.on('data', async (connection) => {
    const connectionId = connection.id.split(':')[1]

    // send message to everyone but message sender
    if (connectionId && connectionId != ctx.req.connectionId) {
      await socket.send(connectionId, ctx.req.data)
    }
  })

  await streamPromise
})
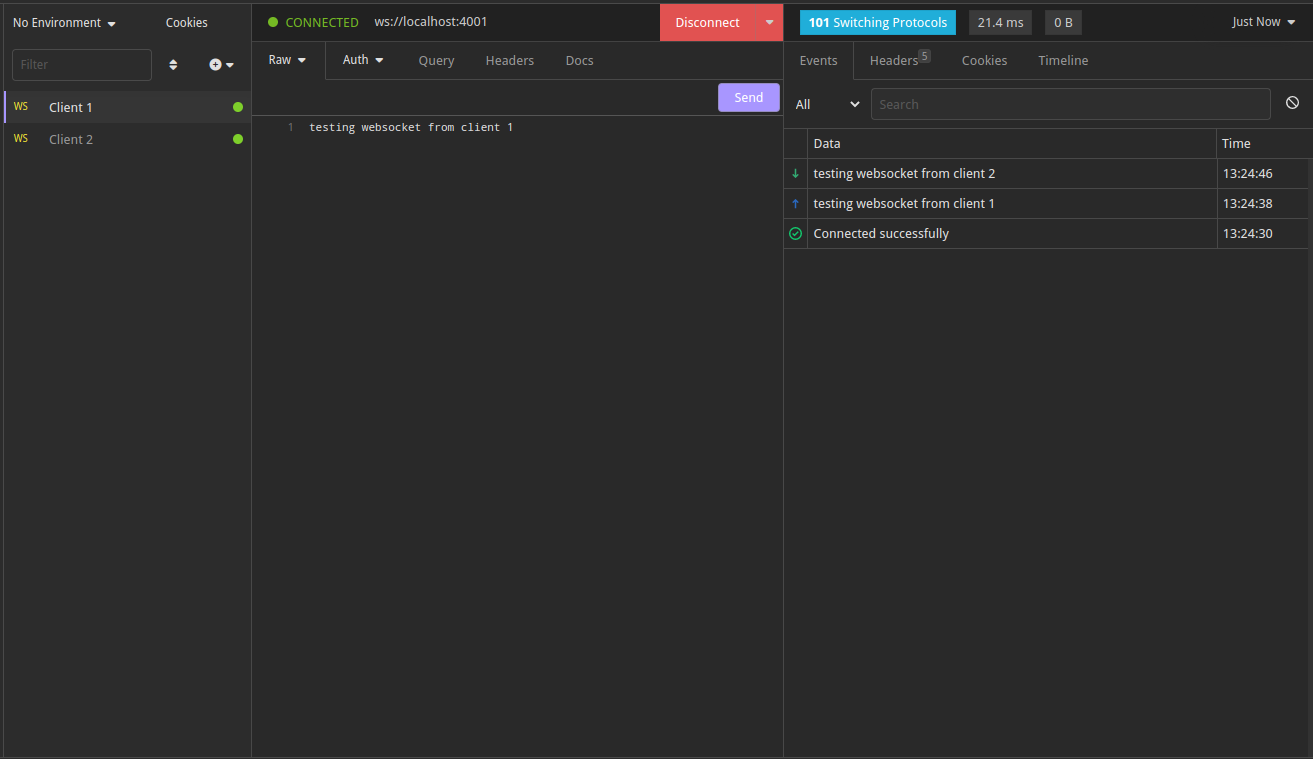
If nitric is still running and you've saved the new file, it should hot-reload the new code.
If you connect multiple clients using your preferred client and send messages each client should receive messages from other clients:
Deploy to the cloud
To perform the deployment we'll create a stack, stacks give Nitric the config needed for a specific cloud instance of this project, such as the provider and region.
The new stack command can help you create the stack by following prompts. In this case we'll use AWS as an example:
nitric stack new
? What should we name this stack? dev
? Which provider do you want to deploy with? aws
? Which region should the stack deploy to? us-east-1
This command will create a file named nitric-dev.yaml, with contents like this:
name: dev
provider: nitric/aws@0.31.0
region: us-east-1
With the stack file in place we can run the deployment:
nitric up
SUCCESS  Images Built (37s)
SUCCESS  Configuration gathered (6s)
SUCCESS
         API               | Endpoint
         example-websocket | wss://xxxxxxxxxx.execute-api.us-east-1.amazonaws.com
Deployed Stack (1m14s)
Go ahead and test your app in the cloud, you can start by connecting wscat to the websocket endpoint printed in the output for up.
You'll need to add
$defaultto the URL provided to hit the deployed stage. This will be simplified in future versions of the AWS provider.
When you're done with the cloud deployment you can tear it down using the
nitric down command.
What next?
Now that you have the basics down, try exploring other Nitric resources available to enhance your app.